
Create Your First Theme
YouCan provides a set of tools that makes the developer experience smooth, simplifying the process and helping you build themes faster and more flexibly.
In this tutorial, you'll use the YouCan CLI to get a theme up and running using our starter theme.
What you'll learn
After you've finished this tutorial, you’ll be able to:
- Set up your local development environment
- Build a theme with unique features
- See your changes take place live
- Deploy and showcase your theme
Requirements
- Created a YouCan Partner Account and set a development store.
- Installed YouCan CLI
- The URL of the store that you want to work on, such as
example.youcan.shop. - Select a Code Editor to work in your codebase.
Step 1. Set up Youcan CLI
Use the command-line interface tool to speed up your themes development with a set of helpful features. If you haven’t installed the CLI, run:
npm install -g @youcan/cli@latestpnpm add -g @youcan/cli@latestyarn global add @youcan/cli@latestbun add -g @youcan/cli@latestTo make sure the installation was successful, run the following command to verify the installation and display the available commands.
youcan --helpINFO
💡 YouCan CLI provides a set of commands to simplify theme development. Each command targets a specific purpose, making it easier to create and manage themes for YouCan stores. Find out more about these CLI Commands.
Step 2. Access your dev store
Next, run the following command to authorize the CLI to access your YouCan Store.
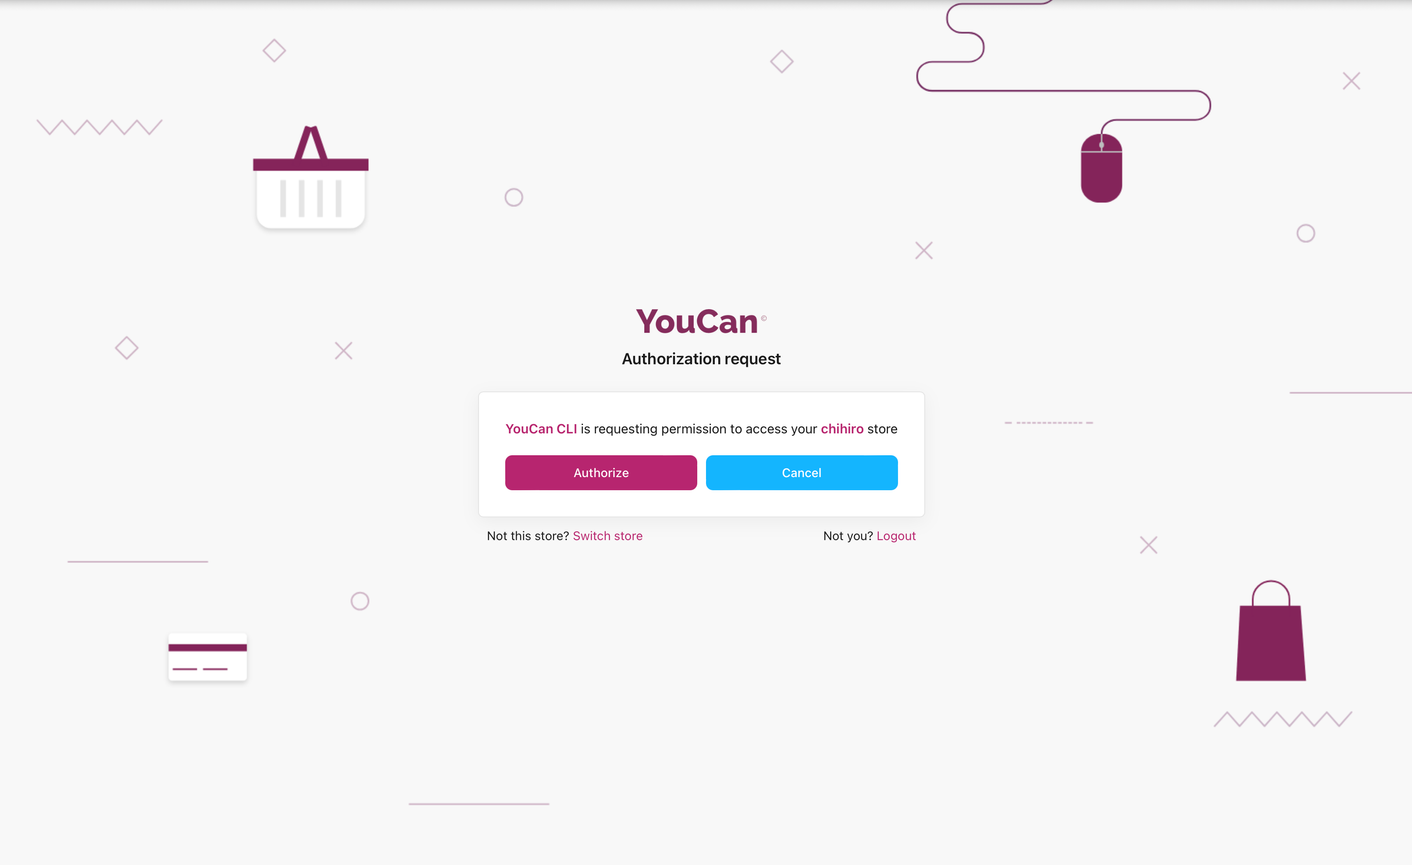
youcan auth loginA new page will appear for authorization. Click on 'Authorize' to grant access.
Step 3. Initialize a new theme using the Origins theme
Origins is YouCan's reference theme, built for performance, flexibility, and ease of use. It acts as the starting point to help you build a theme.
In your terminal, navigate to the working directory where you want to clone your dev theme.
Enter the following command to pull the default starter theme from the YouCan git repository:
youcan theme initAfter successful initialization, the theme is created with a unique ID specific to your dev theme.

YouCan CLI uploads this theme as a development version to the store you're connected to, ready for further modifications in your local code editor.
Step 4. Start a local development server
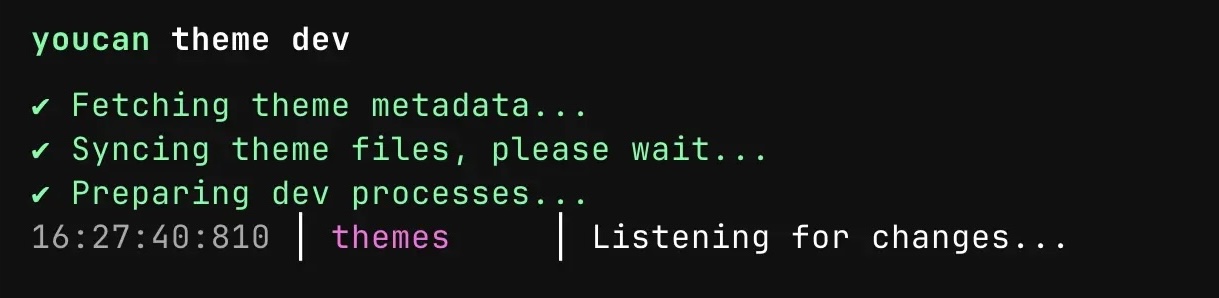
After you initialize your theme, you can run youcan theme dev to interact with the theme in a browser. YouCan CLI uploads the theme as a development theme on your store.
The following image shows a development server being started using dev:
WARNING
Please note that once in this review phase, any further modifications to the theme will be restricted as it gets locked during the review process
Next steps
You've got a theme running end to end. From here, dig into how a theme is put together and the practices that keep it fast and maintainable.